
The work-hardening problem, stated plainly
Austenitic stainless steels have a property that separates them from plain carbon steel: when the material is worked - pressed, rubbed, dragged without cutting cleanly - its surface gets harder. Machinists call this work hardening, and it turns into a trap for the next pass, because the tool is now cutting something tougher than the alloy on the drawing. A tool that rubs instead of shearing does the damage all by itself: the edge slides over the surface, hardens it, and the next engagement starts worse than the last. This is why a long catalogue of coatings and helix angles matters less in stainless than a single operating discipline - the tool must always be taking a real chip.
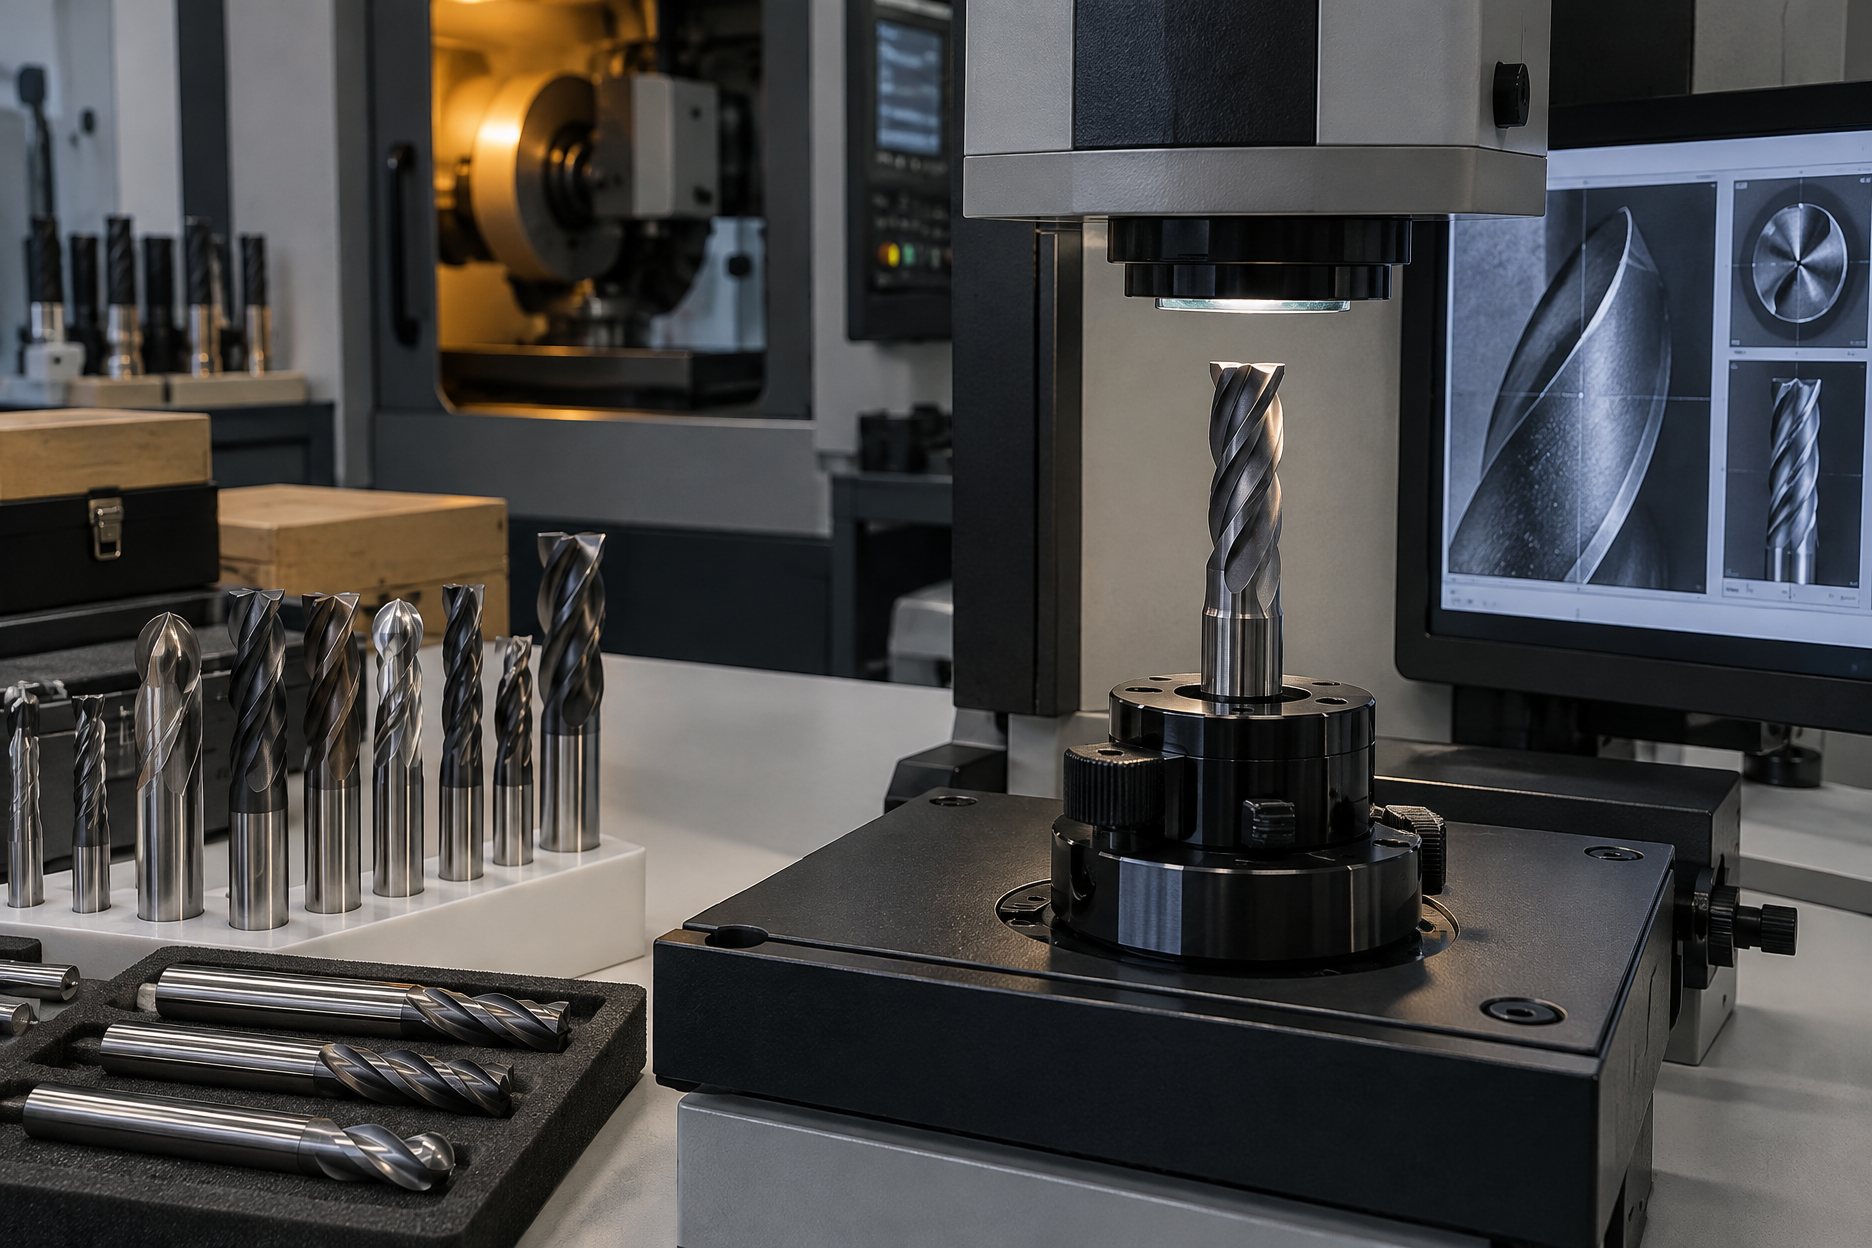
The practical consequence for a buyer is that a stainless program is judged less by any one geometry line and more by how the whole selection keeps the cut alive: sharp edges that shear instead of smear, chip loads that stay deliberate, flutes that evacuate chips before they are re-cut, and a setup rigid enough that the tool does not deflect into rubbing. Each of those shows up on the spec sheet, and each is checkable before bulk - which is what the desk exists to arrange.
Keep the tool cutting
The habit that ruins stainless tools fastest is hesitancy: light spring passes on a work-hardened surface, dwelling in a corner, re-engaging at reduced feed. Every one of those actions polishes and hardens the surface the tool is about to cut. The countermeasures are procedural as much as geometric - constant feed through the cut, planned engagements rather than exploratory ones, and a program that avoids letting the tool dwell. Geometry supports the habit: a sharp edge that enters and shears takes a chip before the surface can respond, while a dull edge gives the material exactly the rubbing it needs to harden. When the desk reviews a stainless program with a buyer, the conversation spends as much time on how parts will be run as on flute counts, because running style decides whether good geometry gets to prove itself.
Sharpness decays in use, and stainless punishes the decay faster than plain steel. Edge preparation is therefore a real spec-sheet line here: sharp enough to shear, prepared enough to avoid micro-chipping - the balance confirmed with the factory per program rather than assumed. The note on stainless selection basics covers the same ground from the shop floor's point of view.
Adequate chip loads, as starting-point guidance
Chip load - the thickness of chip each edge takes per revolution - is where stainless punishes timidity most visibly. A chip load set so light that edges rub work-hardens the surface while wearing the tool; a chip load set with some deliberation keeps edges shearing and heat moving into the chip instead of into the part and the edge. The honest framing the desk uses: published chip-load figures are starting-point guidance, adjusted to the machine, the setup and the part, never a promise. The formulas behind the numbers are on the speeds and feeds reference, and the deeper explanation of the feed side sits in the note on chip load per tooth. What the desk can confirm in writing is the geometry that makes those chip loads achievable - flute count, gullet depth, helix - and the inspection that proves the geometry shipped.
| Spec line | Typical starting point | Why |
|---|---|---|
| Edge | Sharp, with preparation confirmed per program | Shearing edges avoid the rubbing that hardens the surface |
| Flutes | 4 as a common answer; chip clearance first | Chips must leave before they are re-cut |
| Helix | General-purpose to high helix | Helps lift chips and keep the cut shearing |
| Coating | TiAlN family, as for steels | Heat tolerance at the edge; confirmed per program |
| Feeds | Deliberate chip loads, tuned on the machine | Light rubbing hardens the surface; starting points only |
| Holder | Low runout, short stickout | Deflection feeds the rubbing failure mode |
Geometries that clear chips well
Stainless chips are tough and stringy rather than brittle, so they do not break themselves up the way free-machining steel does. Everything that helps them leave the cut is worth specifying: flute gullets with real depth, a helix that lifts the chip along the flute, and polishing or coating choices that give the chip less to weld to on its way out. Four flutes is a common answer because it balances edge count against chip room on most diameters, but the deciding line is clearance, not the number itself - a chip that gets re-cut work-hardens the wall it lands on. Roughing geometries with serrated peripheries earn their place on heavy stainless stock removal for exactly this reason; the family page under roughing end mills describes how the serrations break stringy chips into manageable segments. Runout belongs in the same conversation: an edge that takes an uneven share of the chip load wears early and rubs early, and the note on runout and tool life explains the mechanism without inventing numbers the desk cannot verify.
Where stainless differs from plain steel
Borrowing a steel program wholesale for stainless is the usual starting mistake. Plain steel rewards aggression and forgives hesitation; stainless reverses the second half. The coating default is similar - the TiAlN family serves both - but the edge, the feeds and the running discipline differ enough that the desk writes stainless as its own program even when the diameters repeat. Shops that run both materials usually standardize on separate tool lines rather than one compromise line, because a compromise geometry is a quiet tax on every stainless job. For a distributor, that argues for stocking the two lines distinctly and labeling them by material family rather than by flute count alone, which is also how the partner factories mark the boxes.
Building the program
A stainless line comes together quickly once the running style is on the table: alloy families the customers cut, the operations they run, and the diameters that matter. Standard catalog items cover the common ground in boxed quantities; OEM programs add your logo from about 50-100 pieces per specification, with reference lead times listed on the MOQ and lead time page and confirmed in writing per program. Send the alloy and operation list through the quote form and the reply will start from the work-hardening watch - geometry, edge prep and feeds guidance that keep the tool cutting, proven on samples before bulk.