
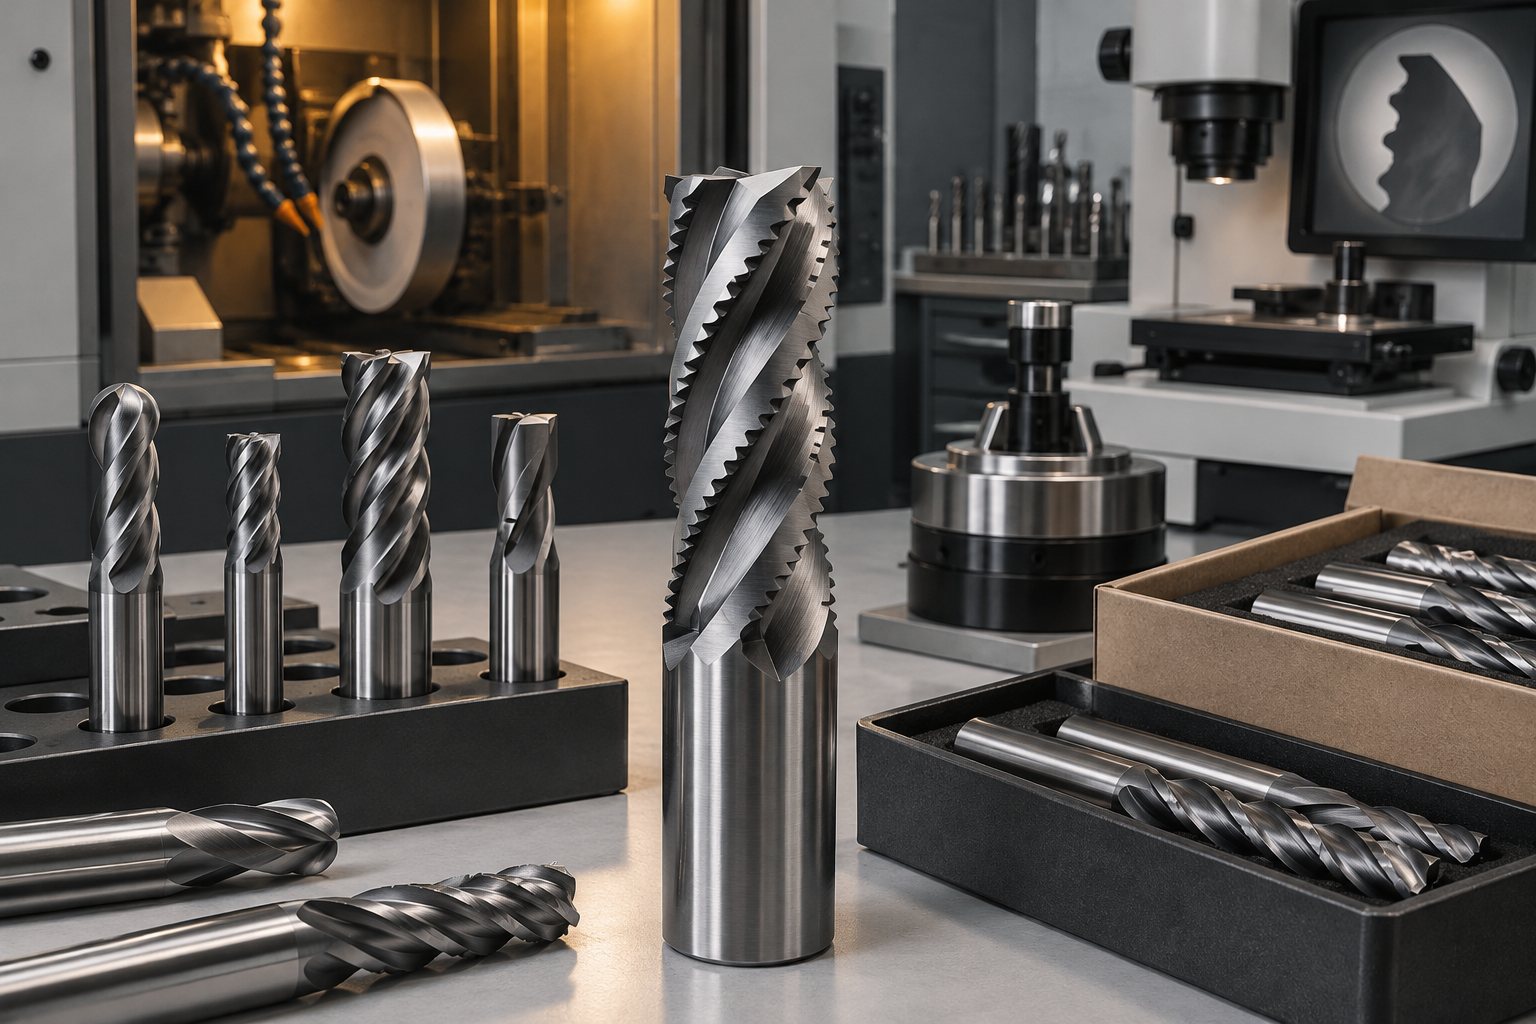
What the serration does
At first glance a roughing end mill looks damaged: the periphery is corrugated into a wave of ridges instead of running smooth. That corrugation is the design. Each ridge subdivides the cut, so the chip breaks into short segments as it forms instead of leaving the flute as one long, springy string. Short chips clear a deep pocket; long ones wrap the tool, pack the flutes and stop the pass. The subdivided cut is also why a serrated periphery sustains high metal-removal passes: the corrugation keeps the load manageable tooth by tooth while the tool as a whole keeps pulling a heavy cut. Nothing about the idea is subtle, and that is its virtue - roughing geometry is the bluntest instrument in the end mill case, and it is honest about it.
The scalloped wall is a feature - and a deadline
Run a rougher along a wall and the wall comes out scalloped, a series of shallow cusps left by the corrugation. That is expected, and it sets the operating rule for the whole family: every roughing pass budgets a finishing pass behind it. The rougher clears the bulk at high removal; the finishing tool - a square or bull nose per the print - cleans the wall to size and finish. Buyers who treat the scallop as a defect have bought the wrong tool or sequenced the job wrong; buyers who plan for it get the removal rate without paying for it in scrap. The two-pass logic is worked through in the roughing vs finishing note, and the pass strategy in the depth of cut note.
Center cutting or not
One line on the sheet decides how the tool enters the cut. Center-cutting roughers have edges that meet at the middle of the face and can plunge straight into solid material. Some roughing geometries are built non-center-cutting - there is a hole or recess at the center - and those need a pre-drilled start hole or a ramping lead-in. Neither is better; they are built for different motions, and the failure mode of mixing them up is a broken tool and a disputed order. Say which you need when you order; the vocabulary is covered in the center-cutting note, and the UK naming overlap around slot drills.
| Line | Standard description |
|---|---|
| Periphery | Serrated (corrugated) cutting edges along the length of cut |
| Chip form | Short, broken segments that clear deep pockets |
| Wall finish | Scalloped; a finishing pass follows |
| Center cutting | Both variants exist - state which the program needs |
| Flutes | Per program; fewer flutes leave more chip room, confirmed per spec sheet |
| Substrate | Fine-grain carbide standard; HSS and HSS-Co for economy and toughness |
| Coating | TiAlN family for steels; uncoated polished flutes on aluminum variants |
Roughing aluminum
Aluminum roughing variants exist, and they earn their name: the same corrugated logic applied with the specific needs of aluminum in mind - generous chip room so the soft metal has somewhere to go, and the polished, usually uncoated flutes that resist built-up edge. Anyone who has roughed aluminum with the wrong tool has met the failure mode: welded-on material in the gullets and a pass that stops long before the pocket is deep. The material-side reasoning is on the aluminum page; confirm the variant on the spec sheet rather than assuming any rougher will do.
Spec sheet lines for a roughing program
| Diameter (D) | Cutting diameter, inch or metric, per line item |
|---|---|
| Serration | Corrugation profile per the reference geometry; confirmed on the spec sheet |
| Flutes | Count per program - chip room is the point of the family |
| Center cutting | Yes or no - decides plunging versus a pre-drilled start |
| LOC / OAL / Shank | Length of cut, overall length, shank diameter |
| Substrate / coating | Carbide or HSS(-Co); TiAlN family, TiN, or uncoated polished for aluminum |
| Marking | Neutral or your logo, laser marked on the shank |
Standard route or ground to your drawing
Standard roughers follow reference serration geometry in the common diameter range, boxed - commonly ten pieces per box - and suit stock programs for job shops and resellers. The OEM route adjusts the family to your range: flute counts, center-cutting preference, reach, your logo on the shank. Standard geometry with your mark starts from about 50 to 100 pieces per specification; ground-to-order samples take about 15 to 25 days after the drawing is agreed, bulk about 30 to 45 days after approval, coating adding a few days. All typical reference ranges, confirmed in writing per program - collected on the MOQ and lead time page.
What the desk checks before bulk
Roughing programs are inspected against the approved sample: optical profile of the corrugation and diameter, runout at the cutting edge, coating appearance, marking and packing. A certificate of conformance and material certificates travel with the shipment per program. The inspection chain from grinding to box is described on the production process page, with the checklist on quality control.
Send the sheet
If your shop or catalog runs roughers, send diameter, flute count, center-cutting preference, substrate, coating and quantity per line through the quote form. The reply names the route, the sampling plan and the serration details to confirm, in writing.