
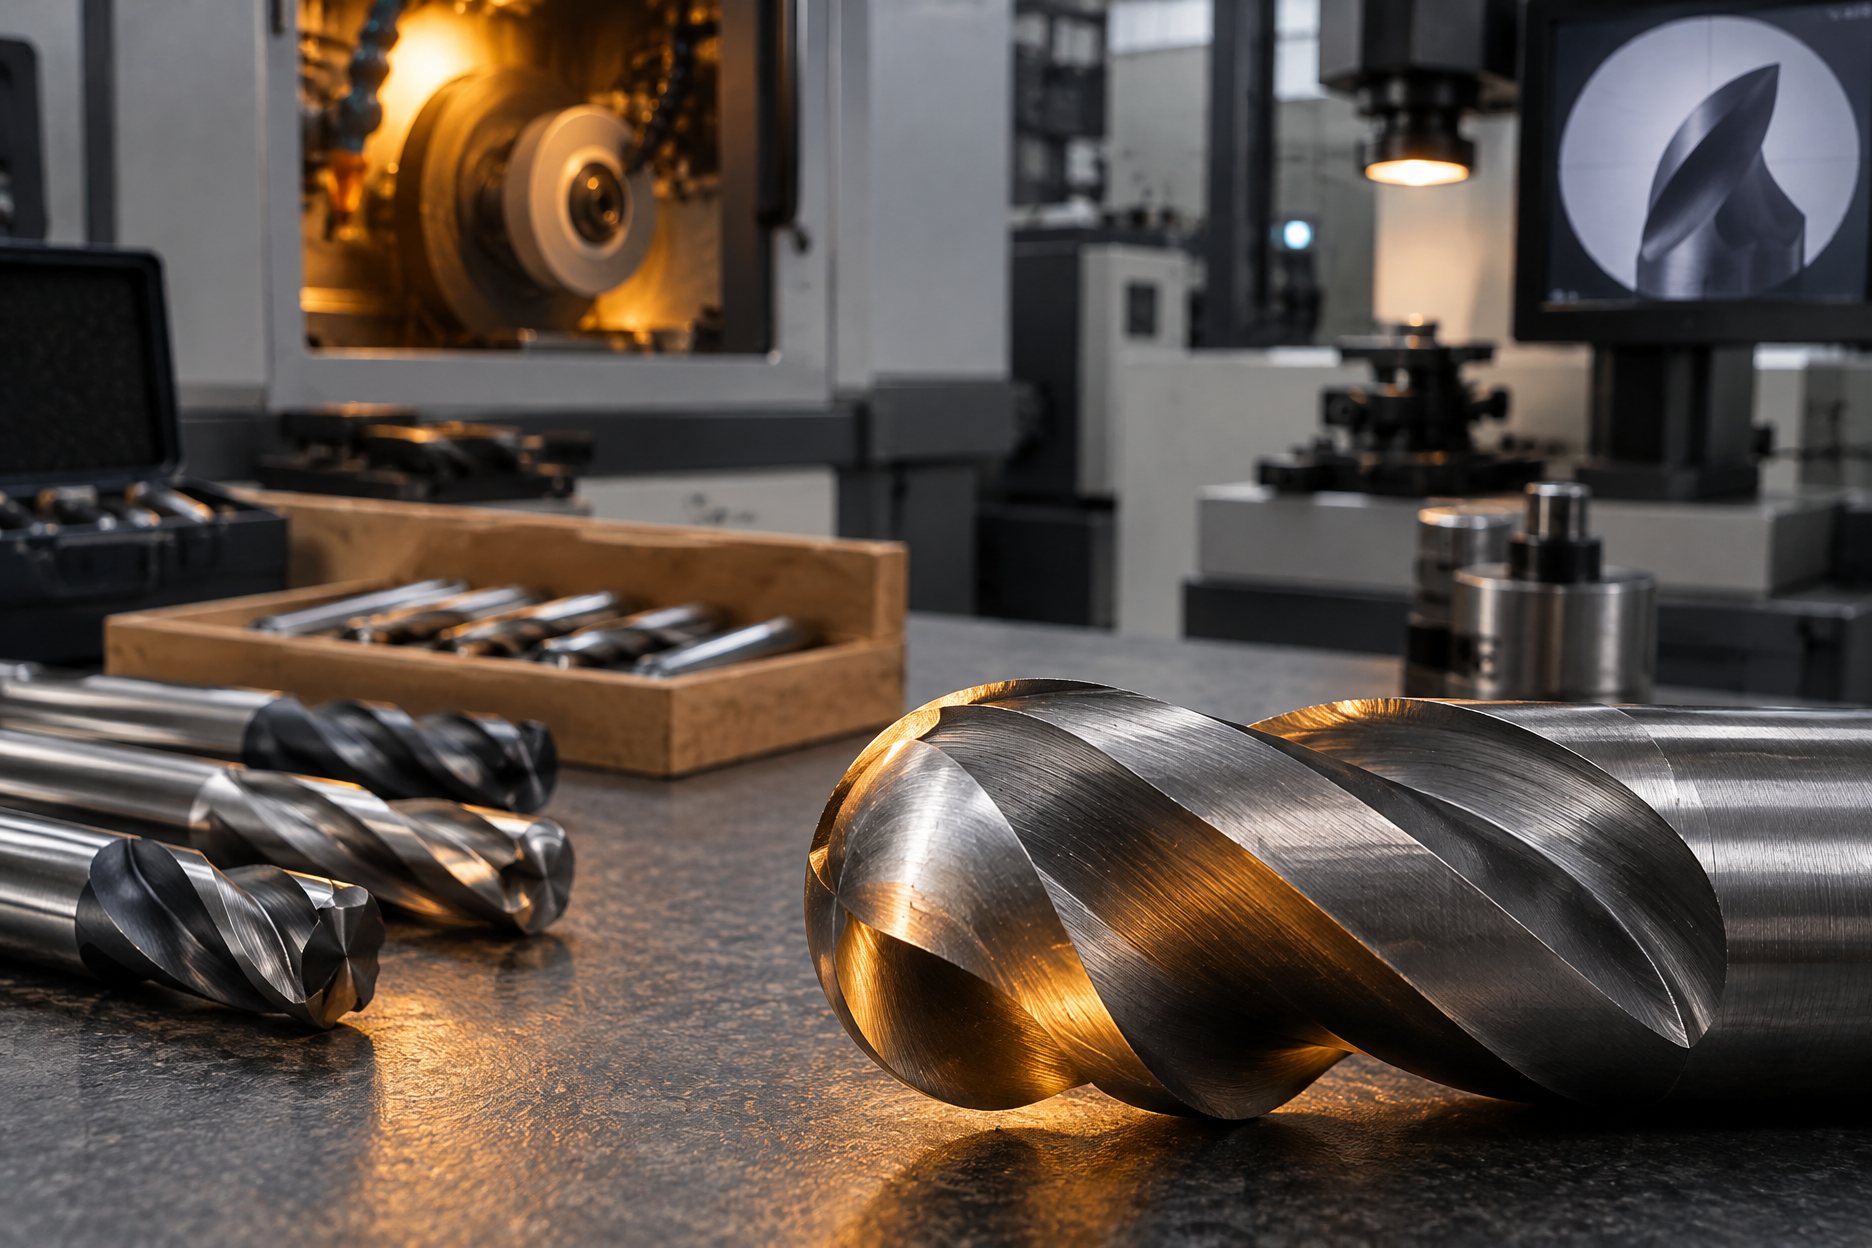
What makes it a ball nose
On a square end mill the periphery stops dead at a corner. On a ball nose end mill the periphery flows over the tip in one continuous radius, so the tool cuts with its flutes along the side and with the radius itself wherever a curved surface meets it. That is the whole identity of the family: it can follow a surface the way a flat-ended tool can only approximate with stair-steps. The full-ball form is also the base for the specialty shapes - an undercut job calls for the lollipop variant described in this note, and a tapered body carrying a ball tip opens engraving and deep tapered walls, covered with the tapered end mills.
Where the geometry earns its place
Mold and die work is the classic home: cavity walls blending into floors, fillets everywhere, surfaces that should come out of the machine close enough to final that polishing starts from geometry instead of fighting it. 3D profiling in general - impellers, organic shapes, sculpted forms - is ball nose country for the same reason: the effective cut is a single tangent point that the CAM system walks across the surface. Finishing of curved surfaces follows directly. A practical buyer's note rides along: deep cavities stress reach, not diameter, which is why long-flute and neck-reduced variants are as common in this family as standard-length ones. The mold-shop view of all this is in the mold and die note.
Stepover and surface finish, in plain terms
When a ball nose finishes a curved surface, the tool passes over it in parallel lines. The distance between adjacent passes - the stepover - decides what the surface looks like. Two neighboring passes leave a small ridge between them, a scallop; the tighter the stepover, the shallower the scallop and the smoother the surface reads, at the cost of a longer program and more machine time. Loosen the stepover and the surface completes faster but shows the scallops, which then have to be blended or polished out. There is no single number to publish: the right stepover depends on the surface requirement, the material and the machine. But the relationship itself is fixed geometry, not sales copy - stepover governs scallop height, and scallop height governs how much hand work the surface needs afterward. It is the same spirit as the speeds and feeds reference: starting-point thinking, adjusted to the setup.
| Feature | Standard description | Buyer note |
|---|---|---|
| End form | Hemispherical; radius equals half the cutting diameter | The radius is a measured line at inspection |
| Flutes | 2 common for chip room; 3, 4 and more per program | Deep cavities and aluminum favor room to clear chips |
| Helix | Around 30 degrees general purpose; high-helix for aluminum | Confirmed per spec sheet |
| Coating | TiAlN family for steels; uncoated polished for aluminum | Diamond family for abrasive non-ferrous and composites |
| Variants | Long flute, neck reduced, undercut (lollipop), taper ball | Ground to drawing on the OEM route |
Two flutes, and when to ask for more
Many ball nose programs run two flutes: deep cavities and curved finishing need chip room more than they need extra edges, and a packed gullet partway down a pocket is a common way to lose a tool. Four flutes suit steel and finishing work where more edges engaging raise the feed potential in harder materials - the counts and their trade-offs sit in the flute count guide. Coating follows the material as everywhere else on the site: TiAlN-family coatings for steels and dry machining, polished uncoated flutes where aluminum would stick, the diamond coating family for abrasive non-ferrous and composite work. The substrate is fine-grain tungsten carbide as standard, with HSS variants where toughness and price lead - the substrate trade-offs are on the carbide vs HSS note.
Reading the drawing
Ball nose drawings carry one line worth learning to read: the ball radius, always half the cutting diameter on a true ball nose. The side view shows the hemisphere blending into the flutes, the dimension lines for cutting diameter, length of cut and overall length, and the plain shank behind. The end view shows the flute cross-sections around the circle, where flute count and core thickness are visible at a glance. For a buyer checking a sample, the end view says more in ten seconds than a page of copy - a deep-fluted two-flute and a stubby four-flute look nothing alike even at the same diameter. The dimension lines themselves are defined on the length of cut note.
Standard route or ground to your drawing
Standard ball noses in the common diameter range ship boxed - commonly ten pieces per box - and suit distributors and resellers filling catalog gaps. The OEM route is where this family earns its desk: longer reach for deep cavities, neck-reduced tools that dodge a shoulder, undercut lollipop forms, taper ball grinders for engraving ranges, your logo laser-marked on the shank. Standard geometry with your mark starts from about 50 to 100 pieces per specification; special profiles are quoted per tool family against your drawing. Custom grinding samples take about 15 to 25 days after the drawing is agreed, bulk about 30 to 45 days after approval, and coating adds a few days - all typical reference ranges, confirmed in writing per program on MOQ and lead time. How drawings become samples is walked through under custom end mill grinding.
What the desk checks before bulk
Ball nose programs are inspected against the approved sample and the sheet: optical profile measurement of the ball radius and flute form, runout at the cutting edge, coating appearance, marking and packing. A certificate of conformance and material certificates travel with the shipment per program. The full checklist lives on the quality control page; the point of it is that the geometry you approved is the geometry that arrives.
Send the drawing or the list
If your ball nose needs are catalog-standard, send the size list through the quote form. If they are not - and in mold work they often are not - send the drawing; the first reply will name the route, the sampling plan and the open questions in writing.