
Why the order matters to a buyer
Ground-to-order tools go wrong in predictable places, and every one of them is a step skipped or sequenced badly: an edge honed after coating instead of before, a marking proof approved after the batch is already engraved, an inspection run against memory instead of against the approved sample. Understanding the production process is not about admiring machinery; it is about knowing which checkpoints protect you and when they have to happen. This page walks the chain in the order a program actually runs, then covers regrinding - the afterlife of a worn tool that many programs plan for from the start.
The route described here is the OEM route: your geometry, your marking, your packing, ground at partner factories in the Changzhou tool cluster. Standard catalog items follow the same chain from grinding onward, minus the drawing stage. Timeline references below are typical industry ranges - samples about 15 to 25 days after the drawing is agreed, bulk about 30 to 45 days after sample approval - always confirmed in writing for your specific program.
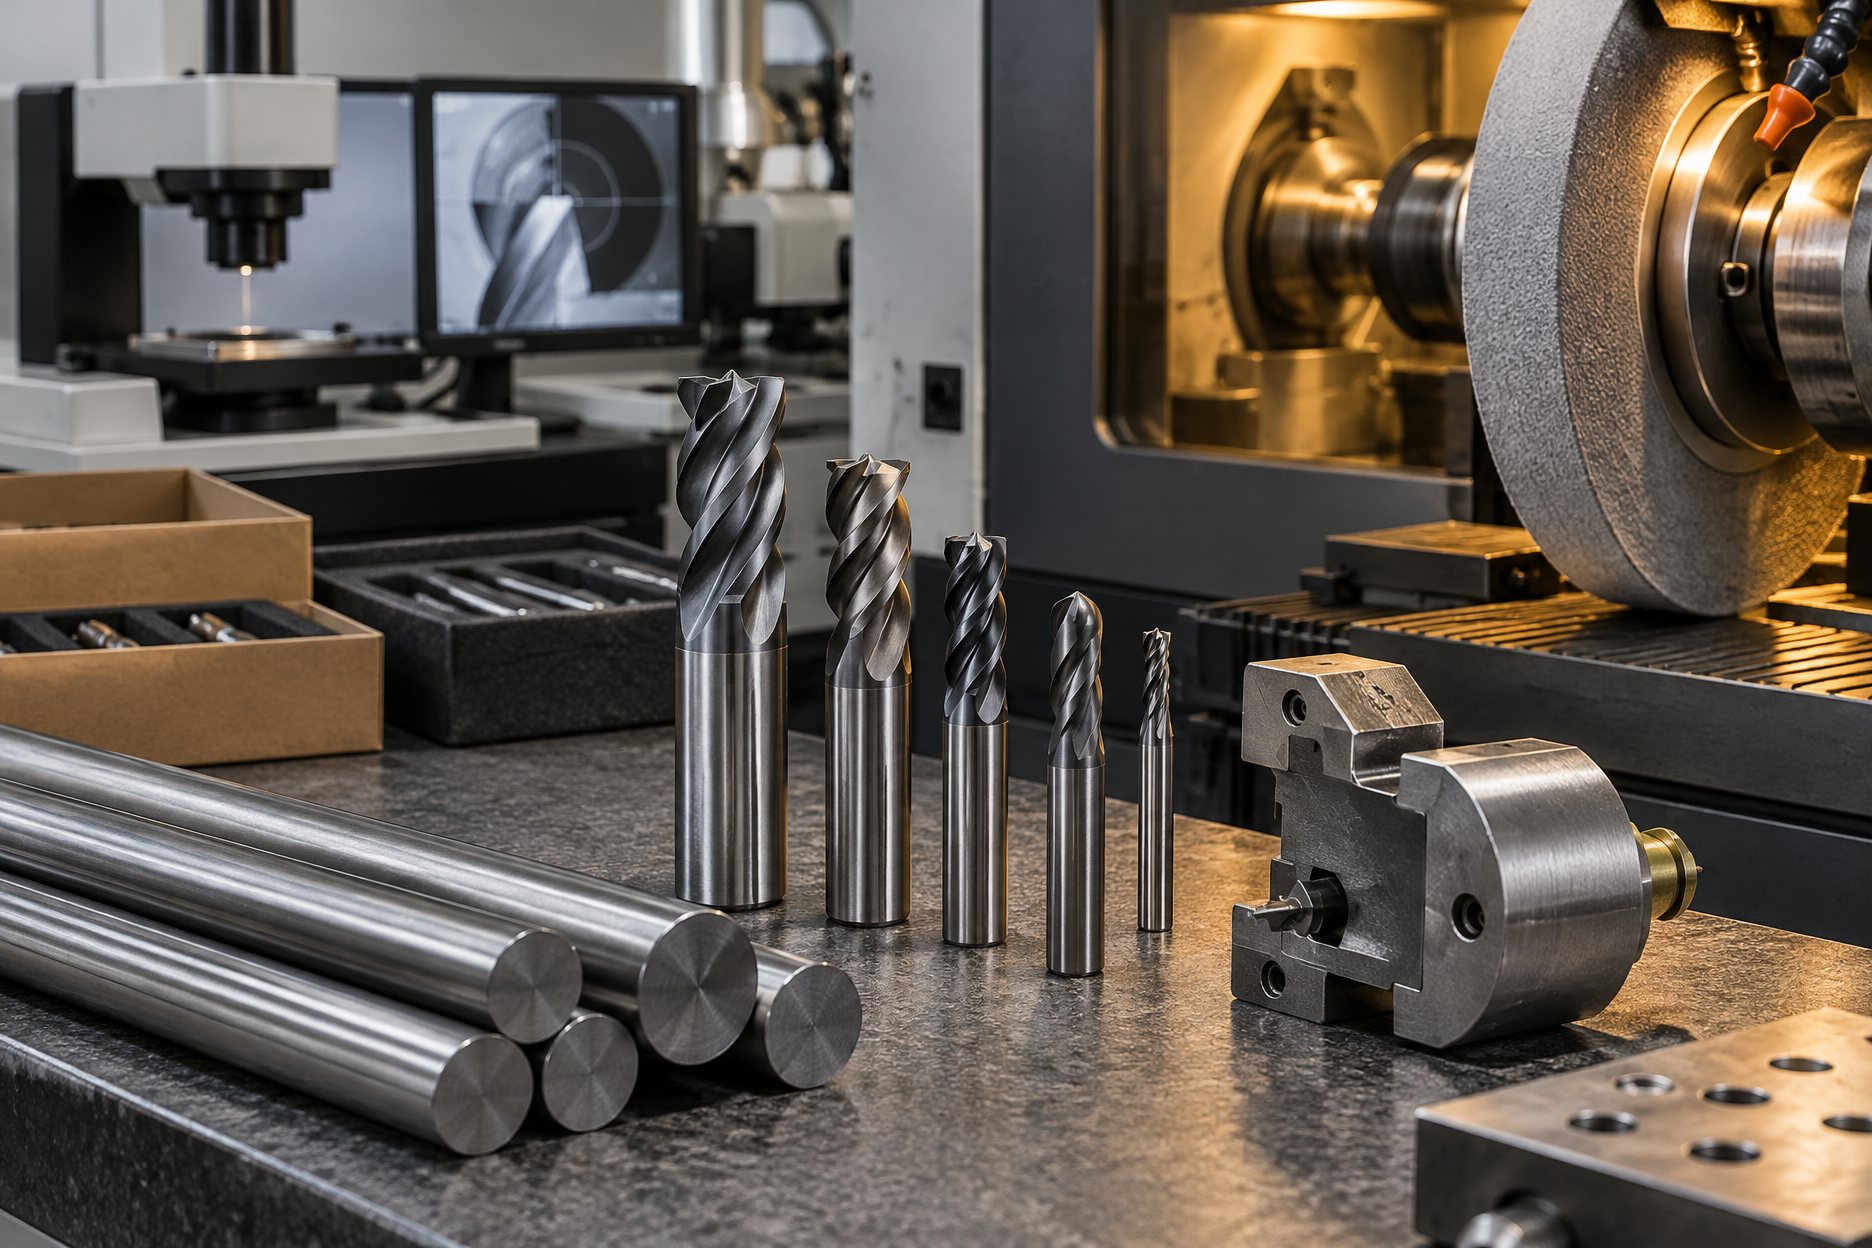
The chain from rod to carton
- Blank cutting. Carbide rod is cut into blanks at length, with allowance for the grinding steps that follow.
- CNC fluting grind. Five-axis grinders cut the flutes, faces and clearances that define the geometry on your spec sheet.
- Gashing and corner prep. The end teeth are gashed for center cutting where specified, and corners are prepared - sharp, radiused or chamfered per the sheet.
- Edge honing. Cutting edges get their preparation - honed for strength where the coating plan and the material call for it.
- PVD coating batch. Coated programs run through a partner coating line in batches: TiAlN-family, TiN or another nitride per the sheet.
- Laser marking. Logo, geometry code and part number are marked on the shank, against an approved proof.
- Inspection. Optical profile measurement of diameter and flute geometry, plus a runout check at the cutting edge; acceptance per program.
- Boxing. Tools are boxed - typically ten pieces per box for end mills - with geometry labels per the program sheet.
- Carton. Boxes go into cartons for freight, with moisture protection during sea transit as standard practice.
Notice that coating sits after edge preparation, not after marking. That order is one of the quiet quality markers in the trade: an edge honed before coating carries the coating evenly; an edge touched after coating can lift it. It is also why a late geometry change is expensive - most of the chain has to rerun. Which is exactly why the desk pins the spec sheet before anything is cut.
Step notes buyers ask about
The blank. Substrate grade is named in writing on the program sheet - fine-grain carbide for most solid carbide tools - because every later step assumes it. Blank quality shows up downstream as chatter marks on ground faces and as runout you cannot grind out.
The fluting grind. Five-axis CNC grinding is what makes a drawing reproducible: helix angle, core thickness, flute depth and clearance angles are all cut from the same program each time, which is what lets reorder batches match the sample you approved. A geometry change is a change to that grinding program, not an adjustment at the bench - another reason the drawing stage matters.
Gashing, corner prep, honing. These small steps decide how the tool enters the cut. Center cutting is created at the gashing stage; the corner style - sharp for wall finish, radiused for strength - is set here; the hone sized to the coating plan. On the spec sheet each is a named line, not a factory assumption.
Coating, marking, inspection
Coating. PVD coating runs in batches at partner coating lines, which is why coating adds a few days to a program and why coated and uncoated lines of the same geometry are quoted as separate items. Coating choice is a spec-sheet line - TiAlN family for steels and dry machining, TiN for general purpose, uncoated polished flutes for aluminum - described generically, confirmed per program. The basics are in the PVD coating note.
Marking. Laser marking happens after coating, on the shank: your logo, the geometry code, a part number if the program carries one. The proof is approved before the first production run, because remarking after the fact is rework nobody planned for. Marking layouts are covered under private label.
Inspection. The last gate before boxing: optical profile measurement of diameter and flute geometry against the sheet, a runout check at the cutting edge, coating appearance and adhesion spot checks. What is measured, and against what standard, is the subject of the quality control page.
Boxing and carton
End mills are fragile at the edge before they are fragile anywhere else, so packing is part of the process, not an afterthought. The standard is a closed box with the tools separated - commonly ten pieces to a box, one geometry per box - carrying a geometry label that names diameter, flutes and coating family. Boxes go into cartons; sea freight gets moisture protection as standard practice. Retail-grade private-label packing runs the same chain with your box design, planned at quotation. The packing detail is in the packing note.
| Stage | Typical reference | Status |
|---|---|---|
| Ground-to-order sample | About 15-25 days after the drawing is agreed | Reference range, confirmed in writing per program |
| Bulk after sample approval | About 30-45 days | Reference range, confirmed in writing per program |
| Coating step | Adds a few days over uncoated | Depends on the line's batch schedule |
| Boxing | Commonly 10 pcs per box for end mills | Confirmed on the program sheet |
Regrinding worn tools
The chain has an afterlife. Worn tools can be re-ground on their original geometry and re-coated, which many programs treat as a planned second life rather than a rescue: the first batch comes back as a regrind batch, quoted per batch, confirmed per program. Regrind pairs naturally with the OEM route because the grinding program for your geometry already exists. It is covered in full under custom end mill grinding, alongside new tools ground to drawing.
Where your program fits
If you are quoting a custom geometry, the drawing requirements and sample timing are under custom grinding, and the reference quantities sit in one table on the MOQ and lead time page. Ready to move, send the drawing or the spec sheet through the quote form - a complete sheet quotes faster than a conversation.