
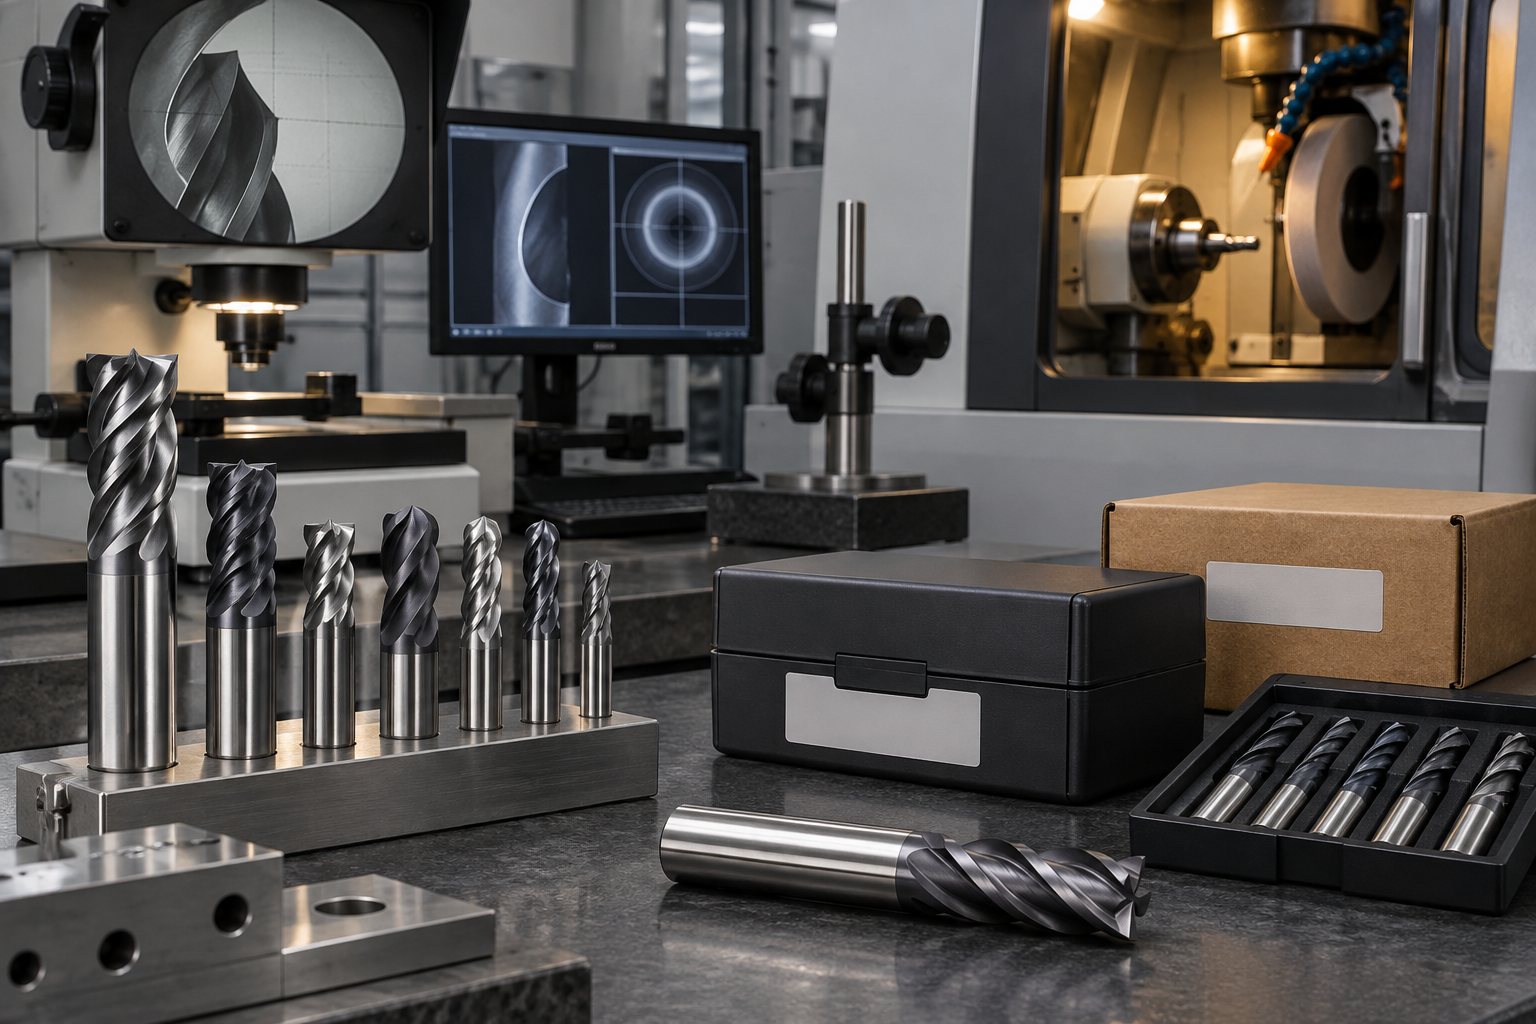
Where your brand physically lives
On a cutting tool, a brand is not a sticker - it is a mark cut into the shank by a laser, a box printed with your design, and a label system your warehouse can actually use. Done well, none of it slows the program down; done late, every one of the three becomes rework. This page is the practical map of a private label program: what gets marked where, who supplies which piece, where the legal responsibility sits, and how buyers usually convert a neutral range into a branded one once the geometry is proven. It sits alongside the OEM mechanics on the OEM and custom page and the marking constraints in the laser marking note.
Start with the division of labor in one sentence: you own the brand, the factory applies it. The desk's job is to make that handoff precise - proofs approved in writing, layouts confirmed before the first batch, boxes quoted as program items rather than surprises at packing.
The shank line
The mark on the shank is laser marking, and it usually carries three elements: your logo, a geometry code that identifies the item at a glance, and a part number if your system runs one. That is enough for a counter sale and enough for stock control, and it fits within what a small carbide shank can carry legibly. The layout - which element goes where, how deep the mark reads, whether it sits on the shank only or also on the neck - is approved as a proof before the first production run. Once approved, the same layout repeats on every reorder batch, because the marking is part of the program sheet, not a per-order decision.
What the mark cannot do is float free of the product. A geometry code on the tool has to match the geometry label on the box and the line on the spec sheet; a part number has to match your catalog. The desk checks that chain - tool to box to sheet - at the packing gate precisely because mismatches are invisible at the factory and expensive at your receiving dock. The label side of that chain is in the packaging labels note.
Who supplies what
| Element | You provide | The factory provides |
|---|---|---|
| Shank marking | Logo file, exact text, layout preference | Laser marking against the approved proof |
| Boxes | Design intent, market requirements | Printed boxes per the program sheet |
| Labels | Part numbering logic, barcodes if used | Label printing and application |
| Carton marking | Shipping marks per your freight setup | Carton marking per the packing plan |
| Trademark | Registration and rights in your market | Applies only the mark you authorize |
The table's last row is the one buyers most often assume is handled for them, so it gets its own section below. Everything else on the list is ordinary program content: the desk collects your files, the factory quotes the marking and printing as program lines, and both land on the same spec sheet as the geometry itself.
The trademark is yours to register
Putting your logo on a tool is the easy part; owning the mark in your market is the legal layer, and it sits entirely on the buyer's side. Registration, watch services and enforcement in your country are your responsibility as the brand owner - the factory applies the mark you authorize and takes no position on who owns it. That division is also the compliance position in writing: origin marking on the packaging follows customs rules for your market, while your logo is a private-label matter. Both are on the compliance page, and both are worth a conversation with your adviser before the first branded batch ships, not after.
From neutral stock to a branded line
- Start neutral. Many buyers prove demand with unmarked, neutrally packed stock first - same geometry, no brand exposure, small commitment.
- Fix the range. The sizes and geometries that reorder become the first branded module - a line, not the whole catalog.
- Approve proofs. Shank layout, box design and label set are approved in writing before any branded tool is cut.
- Run the branded program. Same factories, same geometry, your mark - quantities from about 50-100 pcs per specification for standard geometry with your logo.
- Convert reorders. Existing neutral items reorder as branded batches, with the neutral stock sold through alongside.
That conversion path is why private label rarely feels risky when it is staged: the geometry risk is settled in the neutral phase, and the branding phase only adds marking and printing to a program that already runs. Timing references for each stage are on the MOQ and lead time page.
Boxes, labels, cartons
Box design is a program item with real constraints: print quantities per design, box sizes that have to fit the tool lengths in the module, and label systems that survive warehouse handling. The desk scopes these at quotation so the branded program lands with boxes that fit the tools and a label set your team can process. Carton marking follows your freight setup - shipping marks, carton counts, moisture protection during sea freight as standard practice. The packing basics are in the packing note; the branding guide walks the whole subject in the private label walkthrough.
Start the branding conversation
Bring the logo file, the range you want under your name, and any box or label designs you already use - the quote form takes them as program inputs. The first reply names the module sizes, the proof sequence and the reference quantities, in writing, so branding becomes a planned line on the program sheet instead of a conversation at packing time.